

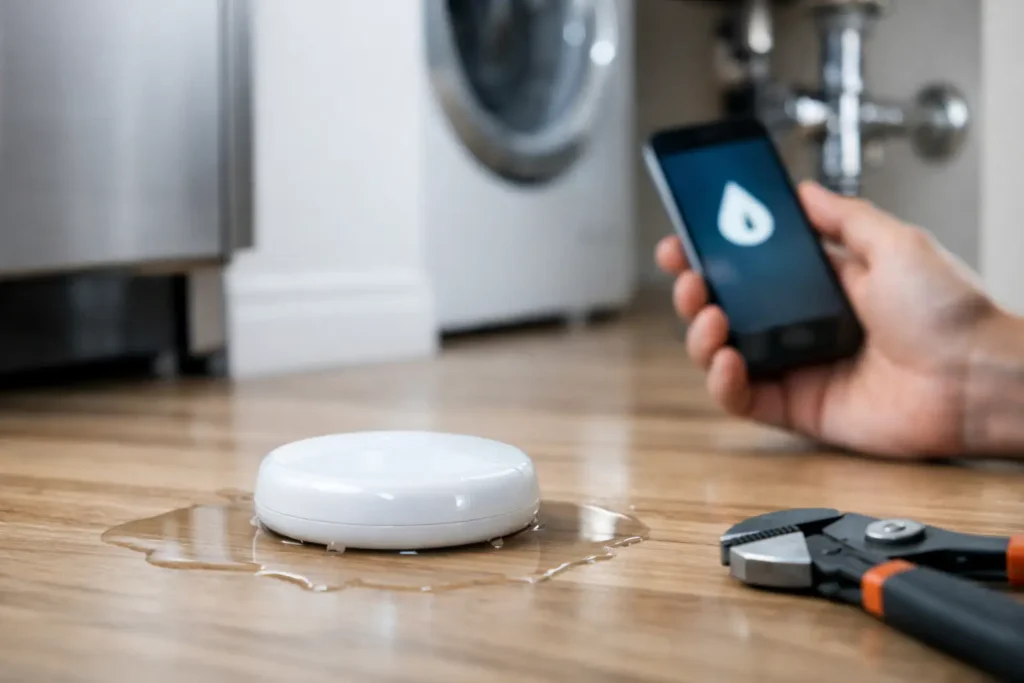
A washing machine hose can leak for hours before anyone notices, especially if the laundry room is behind a closed door or in the basement. Learning how to set up leak sensors is one of the simplest smart-home upgrades you can make: a small sensor at floor level can warn you about water before a slow drip turns into warped flooring, mold, or an insurance claim.
Leak sensors are not complicated, but placement and alert settings matter more than most product listings suggest. A well-chosen sensor in the wrong spot may never touch water. The goal is not to cover every inch of your home. It is to protect the few places where water can escape quietly and cause expensive damage.
Start with the places most likely to leak
Begin with appliances and plumbing fixtures that combine a water supply, drain line, or condensation. For most homes, the highest-priority locations are under kitchen and bathroom sinks, beside the water heater, behind the washing machine, near the dishwasher, and by the refrigerator water line.
Also consider less obvious risks. A sensor near a basement sump pump can alert you if the pump fails or water rises unexpectedly. A unit beside an HVAC air handler or condensate drain can catch a clogged line before it damages a closet, attic, or utility room. If you have a second home, a vacation property, or a rarely used guest bathroom, these areas deserve extra attention because a leak may go undiscovered for days.
Place the sensor on a flat, dry surface at the lowest practical point near the potential leak. Under a sink, that is usually toward the front of the cabinet floor, where you can reach it for testing and battery changes. Near a water heater, position it next to the base or pan, not several feet away on the other side of the room.
Do not place a sensor where routine splashes, mopping, or a pet’s water bowl will trigger alerts. The right location is close enough to catch unwanted water, but not so exposed that you start ignoring notifications.
Choose a leak sensor system that fits your home
Before setup, decide whether you want a standalone sensor, a sensor tied to an existing smart-home platform, or a system that can also shut off your water automatically.
Standalone Wi-Fi leak sensors are often the easiest option for a first-time buyer. They connect directly to your home network and send alerts through an app. They are practical if you only need coverage in one or two rooms and do not want to buy a separate hub.
Hub-based sensors typically use Zigbee, Z-Wave, Thread, or a brand-specific connection. They can be a better choice if you already use a compatible smart-home system, need sensors far from your Wi-Fi router, or want to build automations. The trade-off is an extra device to install and maintain.
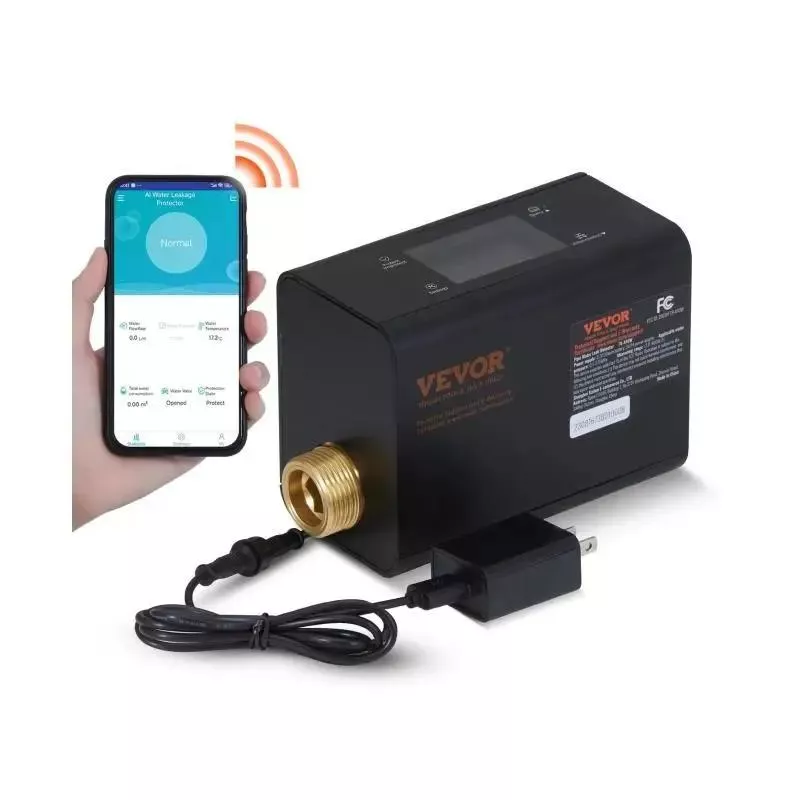
Automatic shutoff systems pair sensors with a valve that closes the main water line when a leak is detected. They cost more and may require a plumber, but they offer meaningful protection for households that travel frequently or have had water damage before. A notification tells you there is a problem. A shutoff valve can limit the amount of water released while you are away.
When comparing products, look beyond the alert claim. Check battery life, whether the sensor includes a loud local alarm, the app’s notification options, the supported Wi-Fi band, and whether it still works during an internet outage. Many Wi-Fi devices require a 2.4 GHz network, even if your phone normally uses 5 GHz.
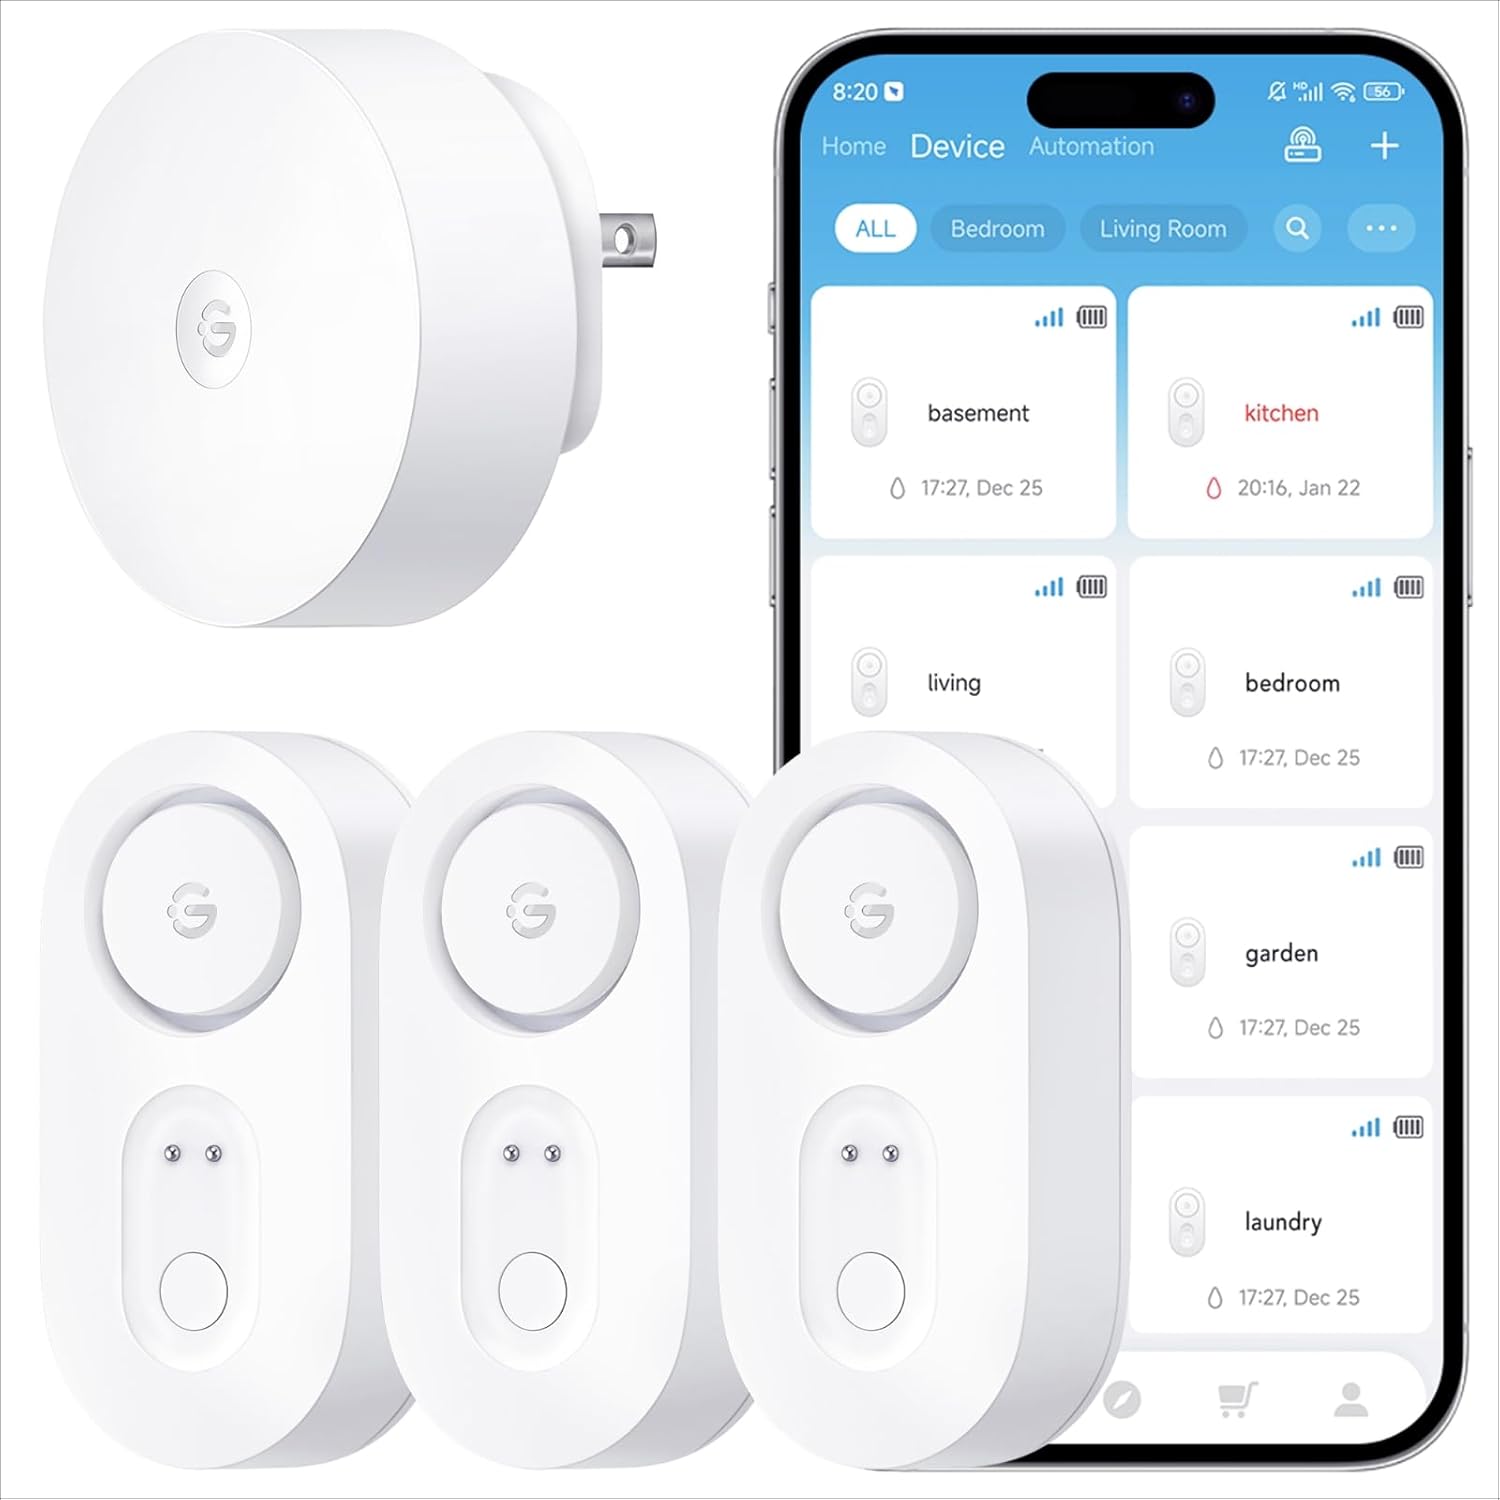

How to set up leak sensors step by step
Most models follow the same basic setup process. Read the included instructions first, because button presses and app permissions vary by brand.
1. Prepare the sensor and phone
Install the battery or remove the battery tab, then download the manufacturer’s app. Create an account if required and allow notifications. This permission is easy to skip, but it is the difference between getting a useful alert and finding out about a leak when you open the app days later.
If the device uses Wi-Fi, make sure your phone is connected to the 2.4 GHz network during pairing. If you use a mesh system that combines network bands under one name, setup may still work, but some sensors need a temporary 2.4 GHz-only connection.
2. Add the device in the app
Choose the option to add a new device, then select water or leak sensor. The app will usually ask you to press and hold a button until an indicator light flashes. Keep the sensor near your router during this stage if it struggles to connect.
Give every sensor a specific name. “Leak sensor” is not helpful at 2 a.m. “Laundry room washer supply line” or “Upstairs hall bathroom sink” tells you exactly where to look. If your app supports rooms, assign each sensor to the correct room as well.
3. Set alerts for the people who can act
Turn on push notifications and add any available alert methods that make sense for your household, such as text messages, emails, or shared access for a partner, family member, neighbor, or property manager. Avoid sending alerts to too many people if nobody is responsible for responding. A smaller group with a clear plan is more useful.
Set low-battery and offline-device alerts, too. A leak sensor with a dead battery creates false confidence. For a vacation home, consider checking device status once a month, even when no alerts have appeared.
4. Put the sensor in its final location
Once it is connected, move it to the planned location and confirm that it remains online. Thick cabinets, concrete walls, metal appliances, and long distances can weaken wireless signals. If the app shows poor connectivity, try moving the sensor slightly or using a hub or mesh node closer to that room.
For tight or hard-to-reach areas, a sensor with a wired probe can be a smarter choice than a standard puck-style device. The main sensor stays where you can access it, while the probe reaches behind an appliance or into a narrow drip pan.
Test every sensor before you trust it
Testing takes less than a minute and catches setup mistakes immediately. Touch a damp paper towel to the sensor’s metal contacts, or follow the manufacturer’s testing method. Confirm three things: the sensor sounds its local alarm, the app identifies the correct device, and your phone receives the notification.
Then dry the contacts thoroughly and make sure the alert clears. If you use a shared household account or automatic shutoff valve, test those parts too. A sensor that reports an alarm but does not trigger the response you expected needs attention now, not during a real leak.
Retest after replacing batteries, changing your Wi-Fi password, switching routers, or moving a sensor. A quick check every few months is sensible, particularly before a long trip or freezing weather.
Build a response plan around the alert
Leak sensors work best when everyone knows what to do after the notification arrives. For a minor under-sink leak, that may mean turning off the fixture’s supply valves and placing a towel under the cabinet. For a washing machine or water heater problem, it may mean shutting off the home’s main water valve.
If you do not know where your main shutoff is, find it before you need it. In many homes it is near the water meter, in a utility room, garage, basement, or exterior access area. Make sure adults in the household can reach it and know which direction closes it.
A leak sensor cannot detect every water problem. It will not catch a pipe leak inside a wall until water reaches the sensor, and it cannot prevent roof leaks or flooding that occurs far from its location. Think of it as an early-warning layer, not a substitute for inspecting hoses, replacing aging supply lines, and addressing plumbing issues promptly.
The smartest setup is the one you will actually maintain. Start with the washing machine, water heater, and kitchen sink if your budget is limited, then add coverage as you identify other risks. A few well-placed, tested sensors can provide far more peace of mind than a drawer full of smart devices that were never configured properly.
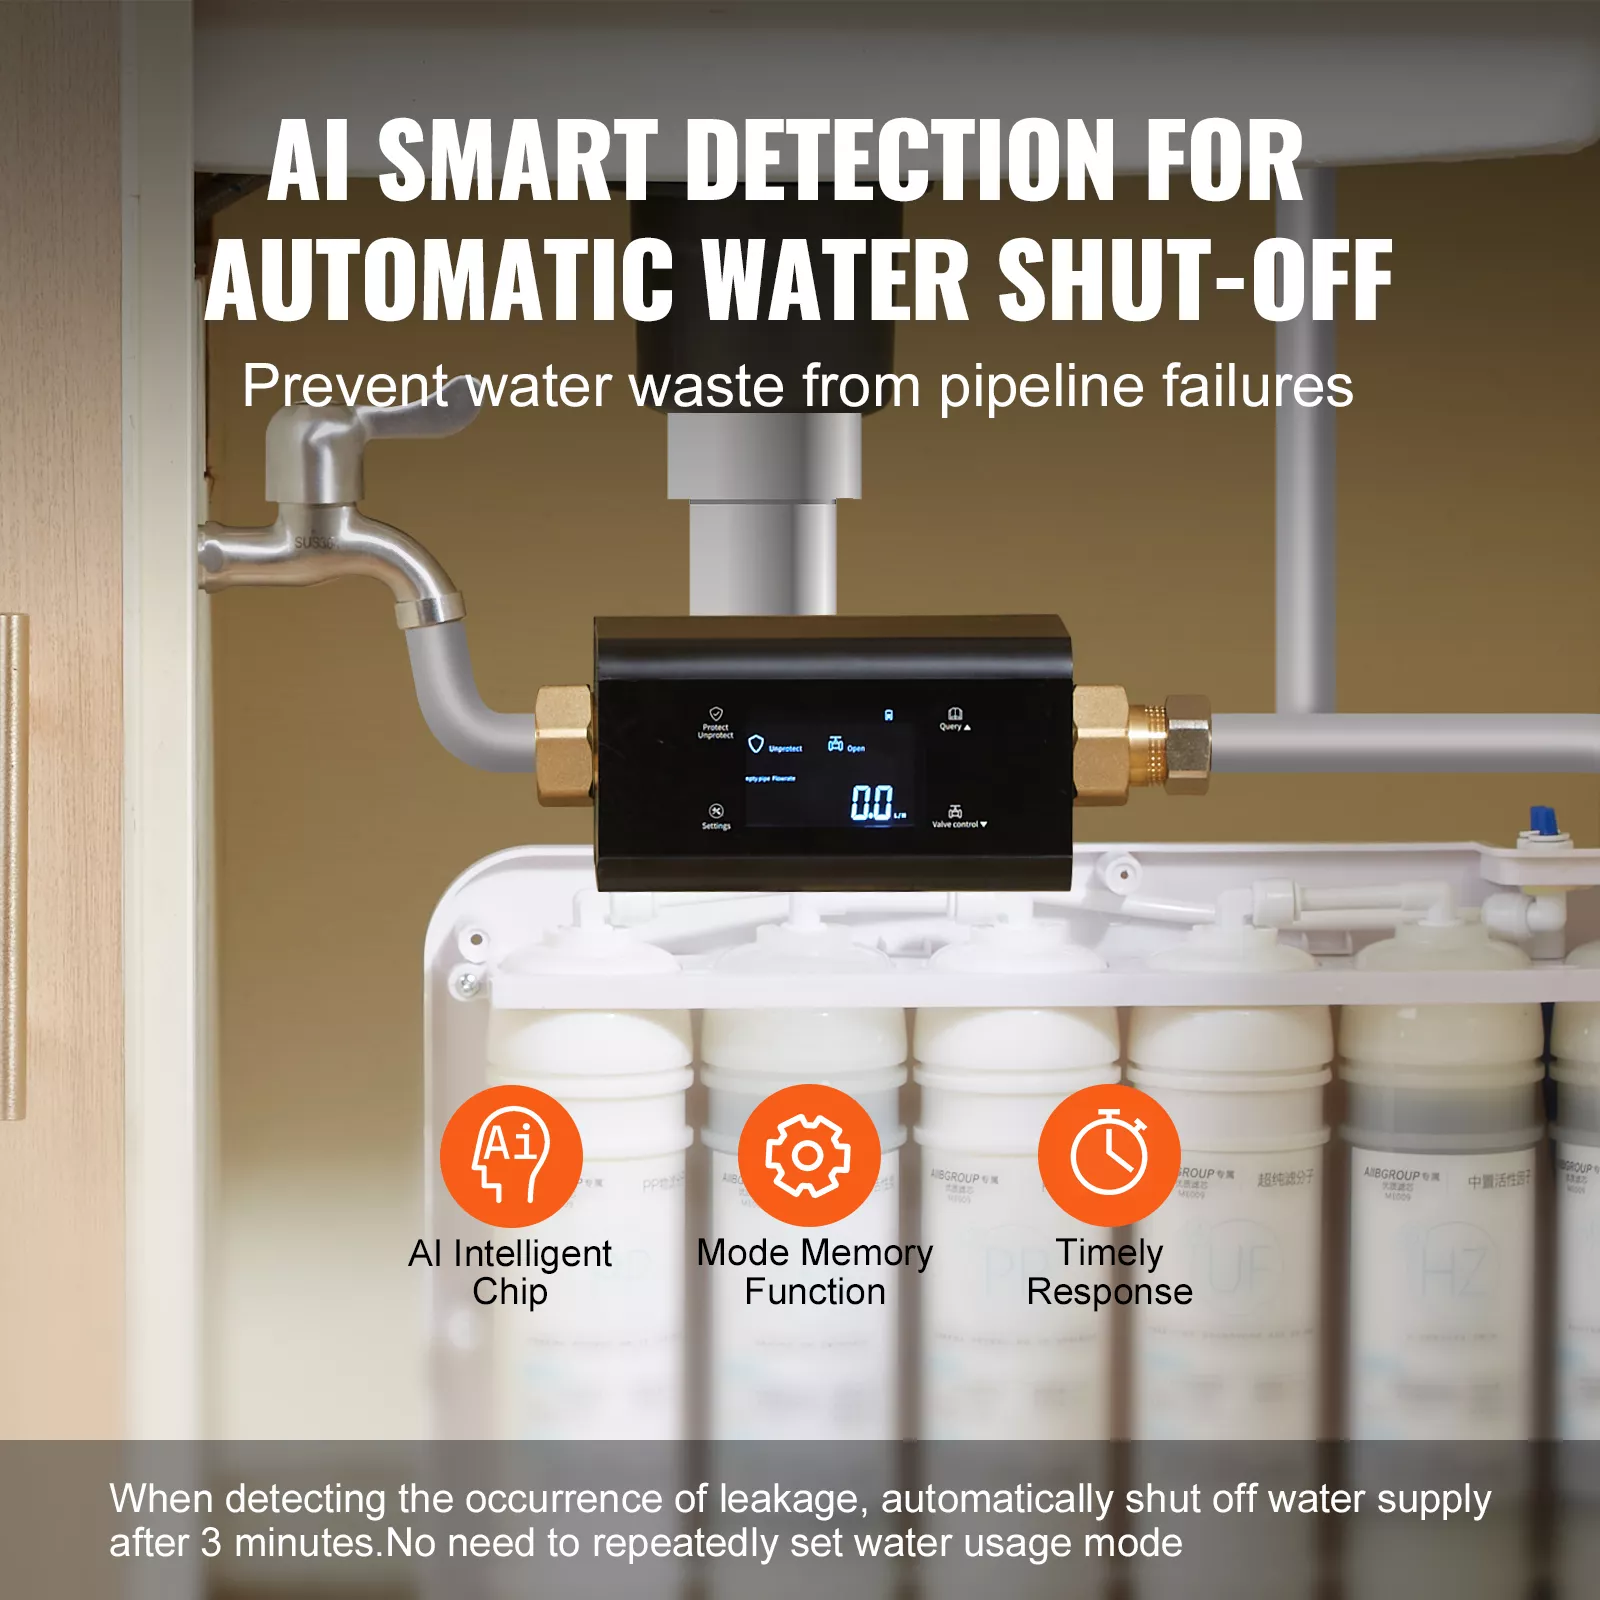
Smart Water Monitor with Leak Detection & Automatic Shutoff for 1-Inch & 3/4-Inch Pipes
Protect Your Home with Smart Water Monitoring
Ensure your home’s water system stays secure and efficient with this advanced smart water monitor. Equipped with ultrasonic technology and a wide flow measurement range of 0.53 – 1055 GPH, this device offers accurate and real-time leak detection, preventing costly water damage. Whether you live in a small apartment or a large home, this tool is designed to protect your property from hidden leaks and water wastage, keeping your water system in check 24/7.





Pingback: How to Compare Battery Backup Systems Wisely | PO‑STORE
Pingback: Healthy Office Snacks List for Better Workdays | PO‑STORE
Pingback: Home Safety Checks That Make Daily Life Safer | PO‑STORE